はじめに
Blenderで山に囲まれたSkyboxを作り、
Unityで表示する方法について説明します。
Blender
アドオンの有効化
以下アドオンを有効にします
- Edit>Preferences>Add-ons
- Add Mesh ANT Landscape
- Node Wrangler
- Dynamic Sky
山と地面を作る
- Shift+A>Empty>Plain Axes
- Z方向に15°回転する
- Shift+A>Plane
- Groundという名前にする
- サイズを10mにする
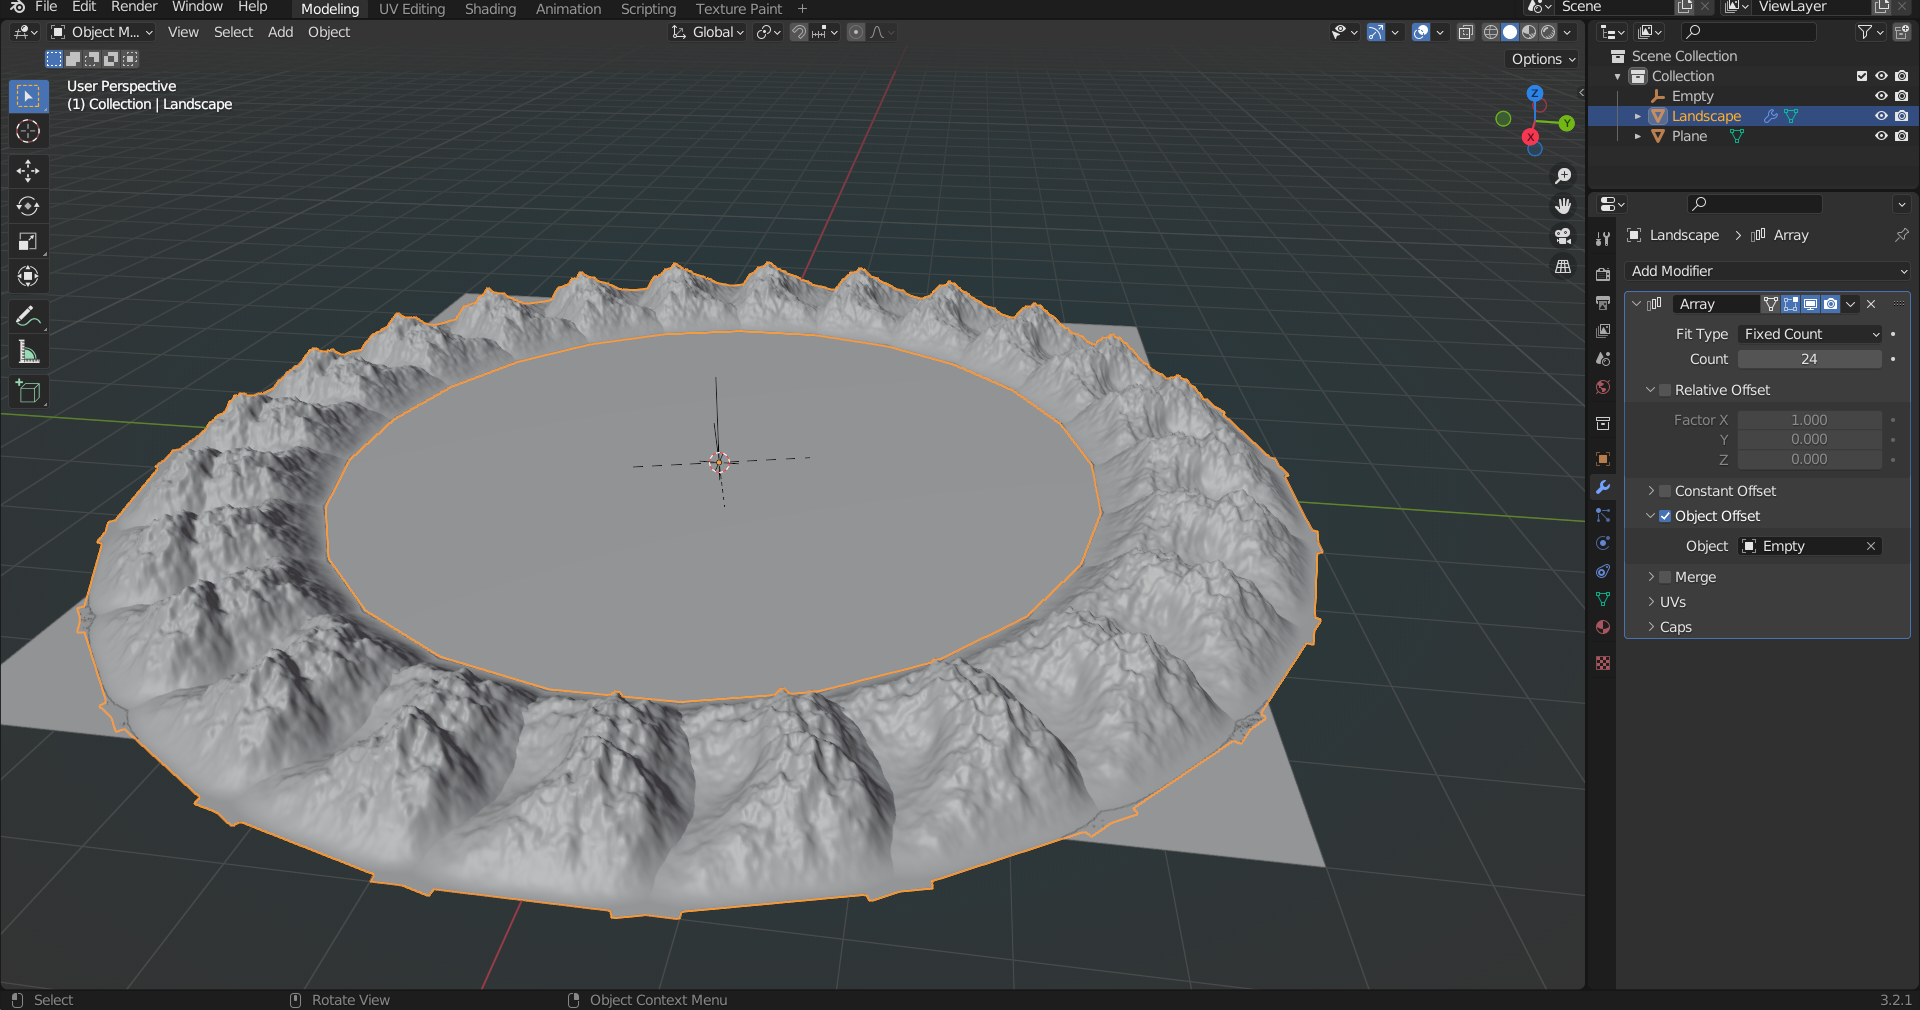
- Shift+A>Mesh>Landscape
- Y方向に5m移動する
- Object>Set Origin>Origin to 3D Cursor
- Object>Apply>All Transforms
- Add Modifier>Array
- Count : 24
- Relative Offset : チェックを外す
- Object Offset : チェック
- Object : Empty
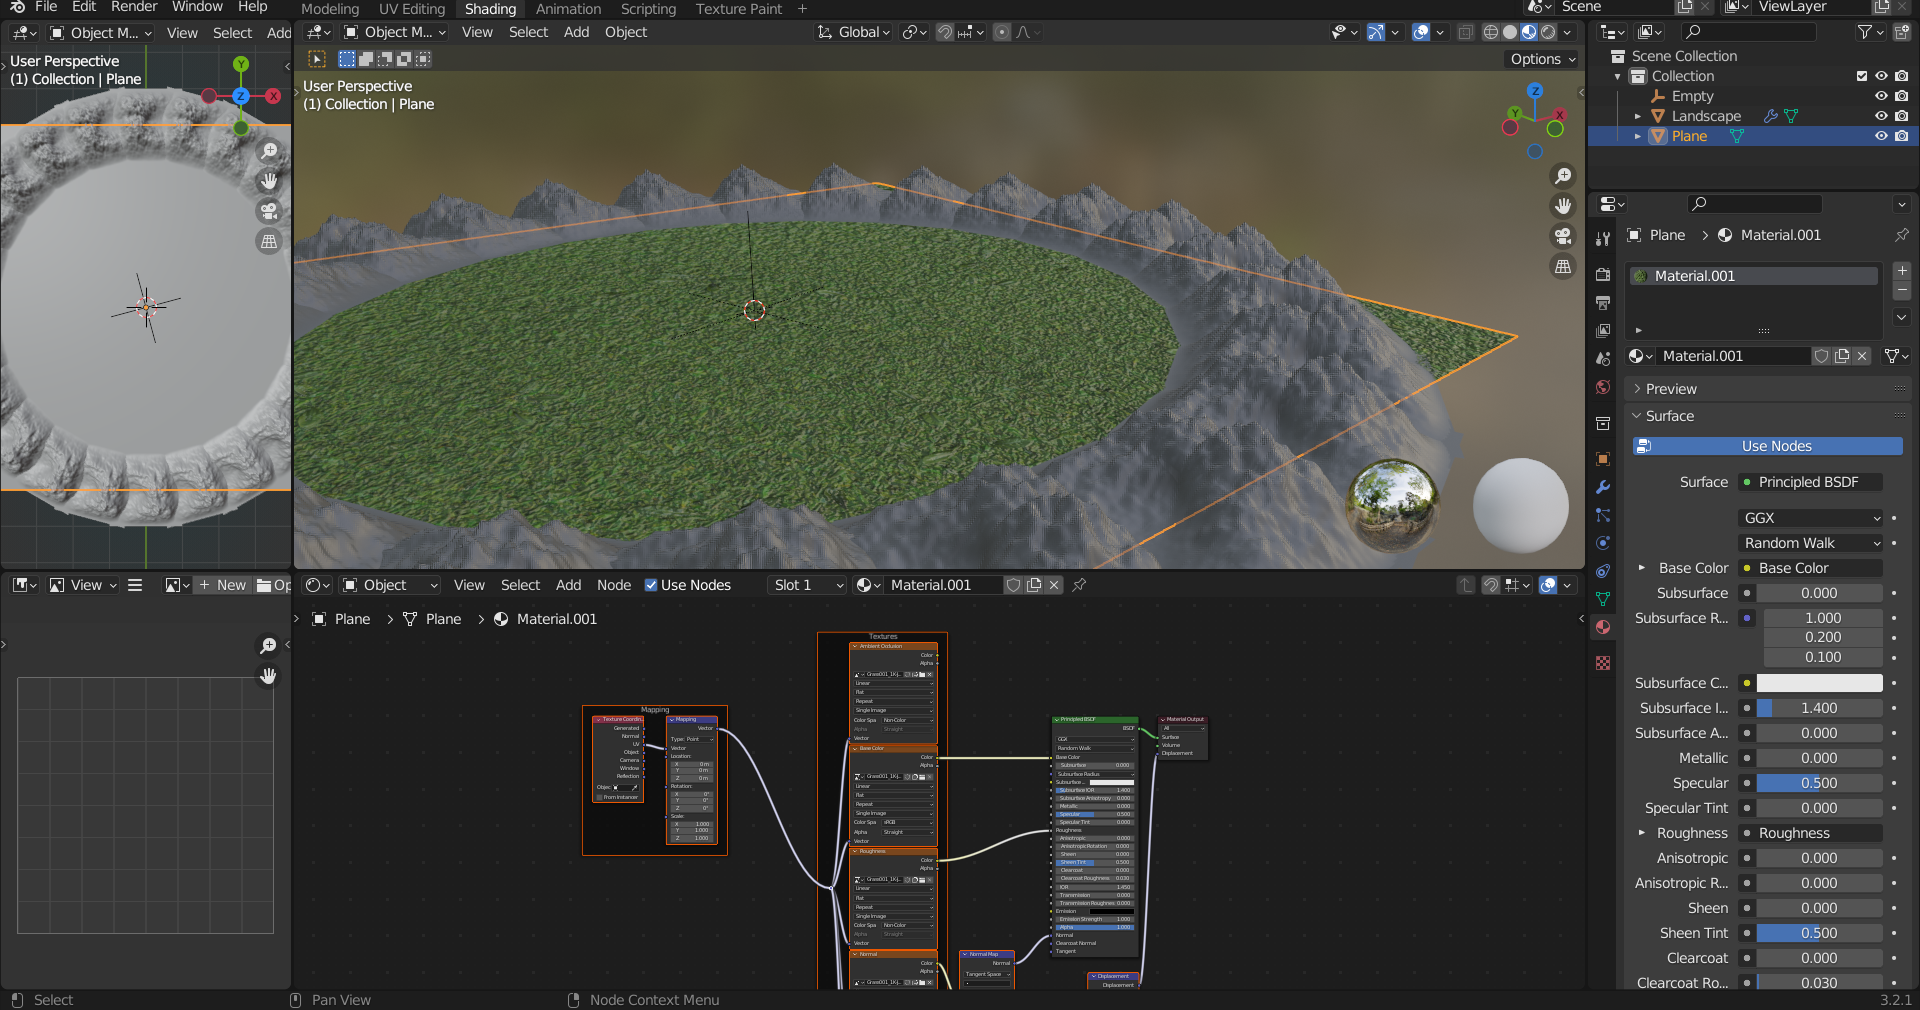
山と地面のテクスチャを設定する
今回は「https://ambientcg.com/」のテクスチャを使用します。
- Landscape>Material>New
- Shadingタブに移動
- Ctrl+Shift+T
- ambientcgでダウンロードしたデータをすべて選択
- Planeも同様にテクスチャを設定する
太陽を作る
- Shift+A>Light>Sun
- 適当な位置に配置
- Strength : 3
- Shift+A>Mesh>Circle
- Sun.Meshという名前にする
- Edit ModeにしてFで面を張る
- Sunと同じ位置まで移動し、スケールを調整
- Material
- Surface : Emission
- Strength : 30

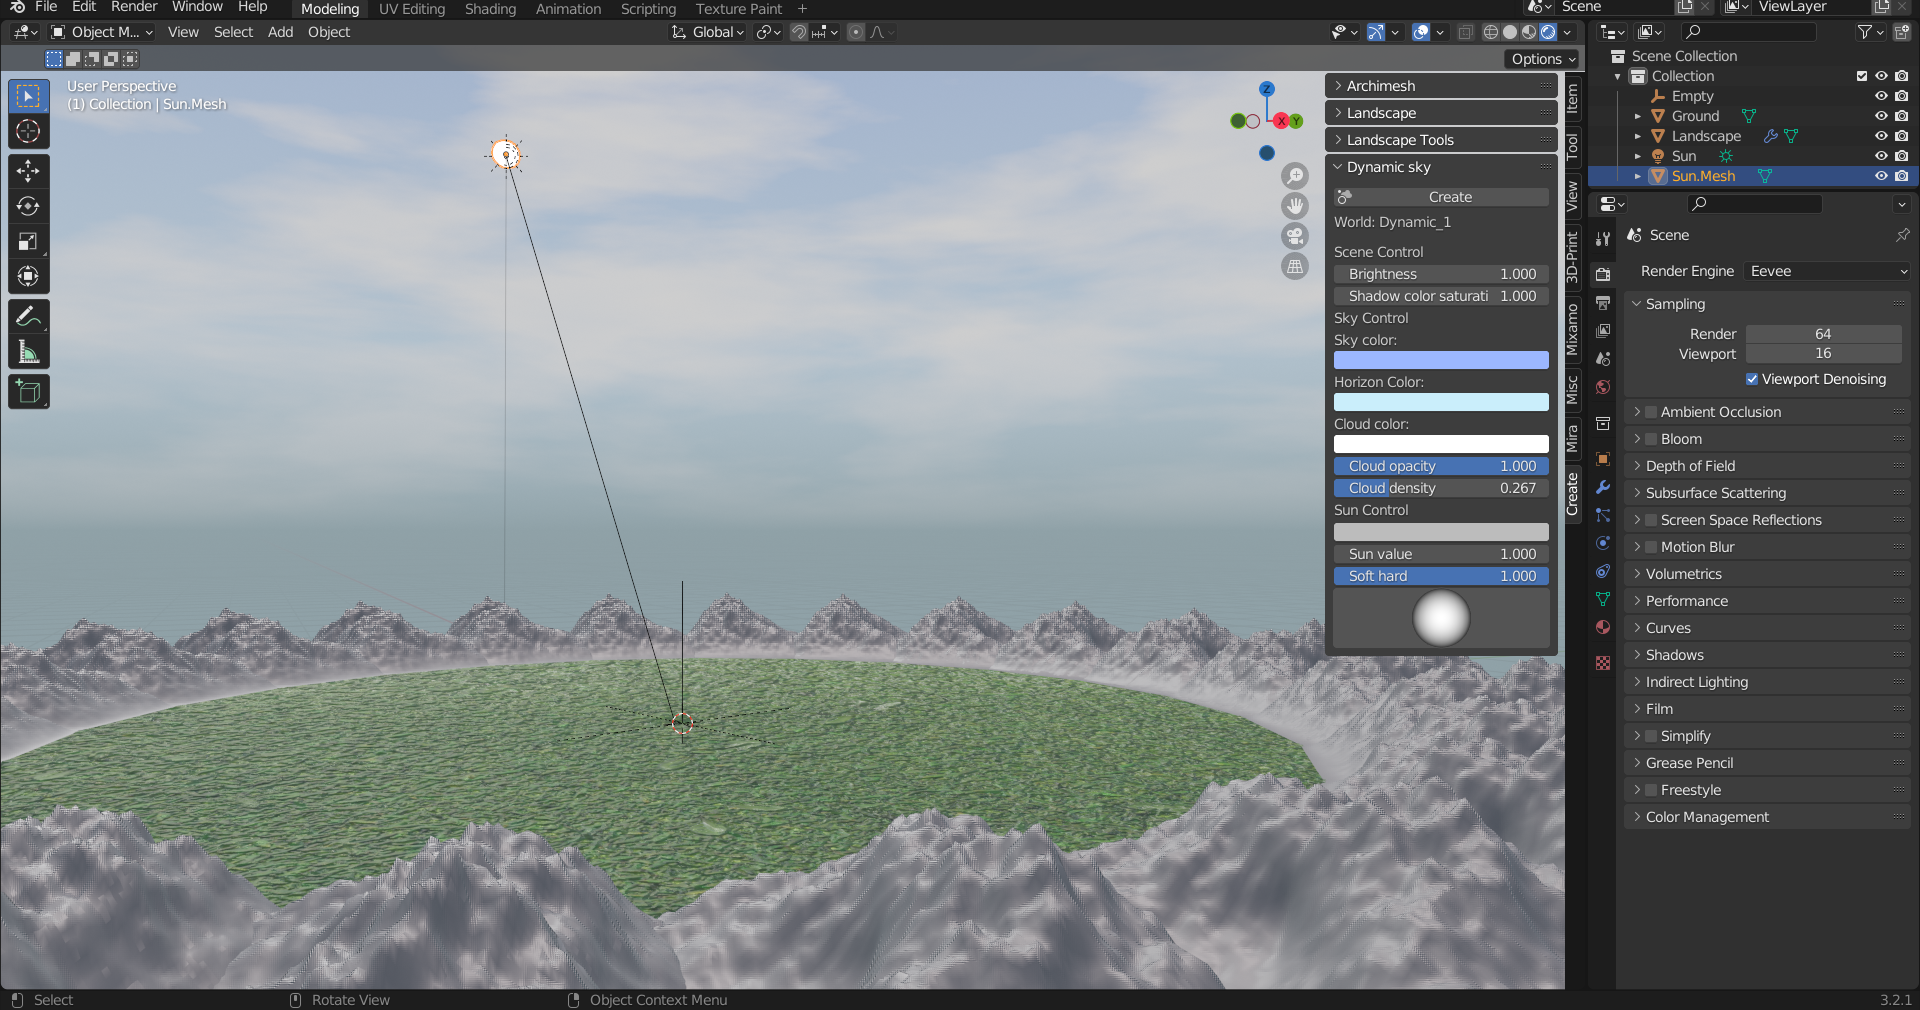
空を作る
- サイドバー>Dynamic sky>Create
- World Properties>Dynamic_1を選択
- 設定を適当に調整
レンダリング
- Render Properties
- Render Engine : Cycles
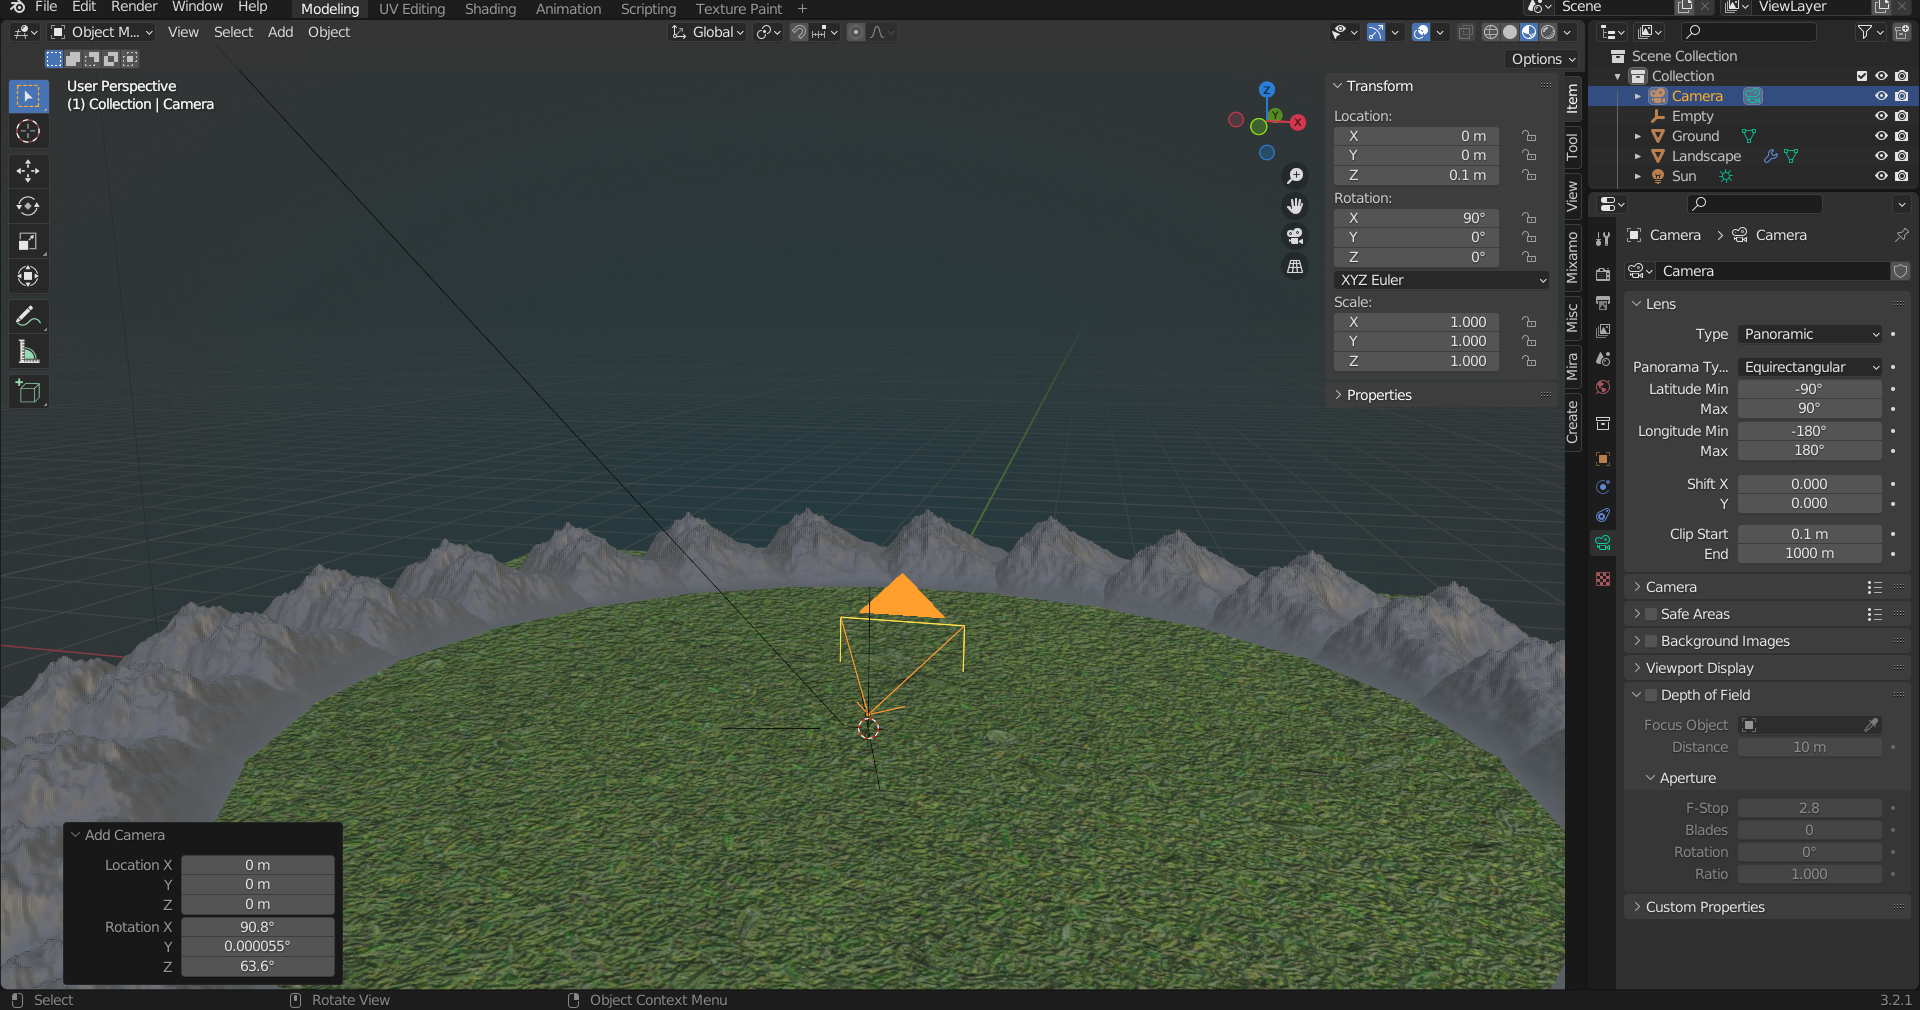
- Shift+A>Camera
- Location : 0, 0, 0.1
- Rotation : 90, 0, 0
- Object Data Properties
- Type : Panoramic
- Panorama Type : Equirectangular
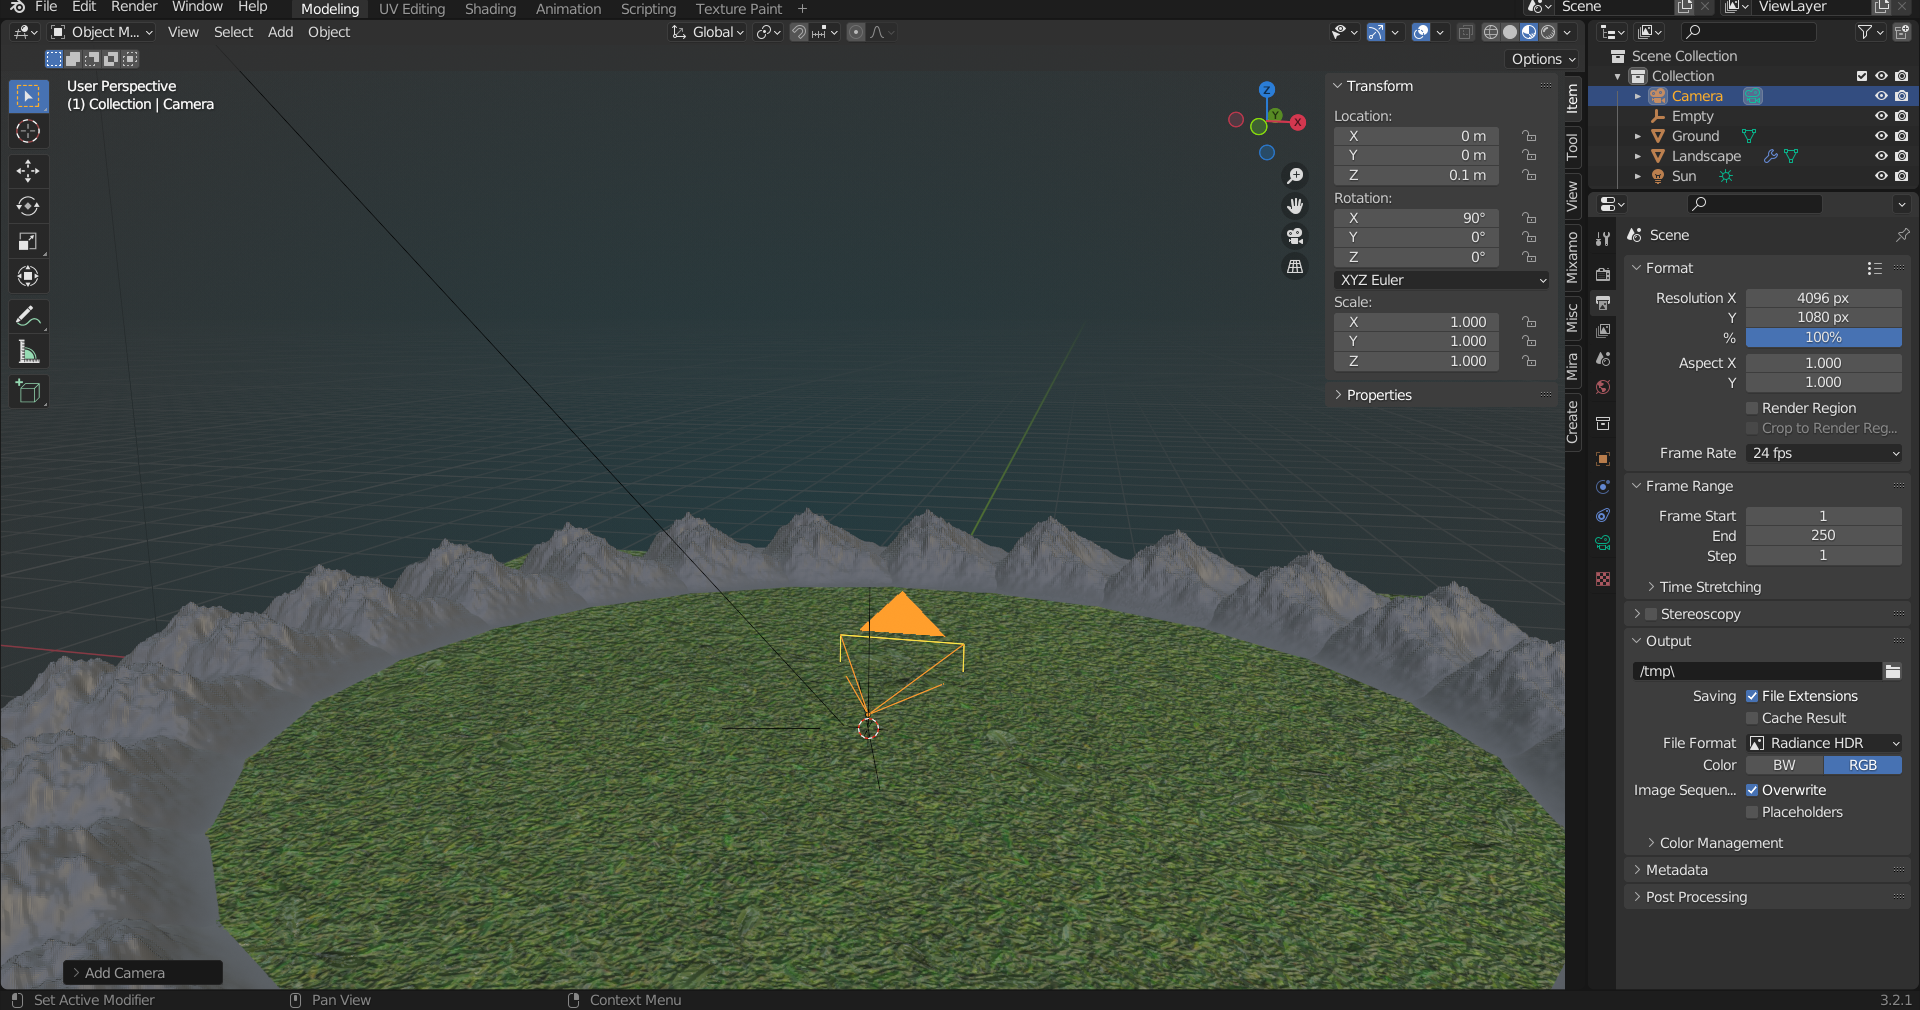
- Output Properties
- Resolution : X 4096, Y 2048
- File Format : Radiance HDR
- Render>Render Image
Bloomをかける
- Compositingタブ
- Use Nodes
- Shift+A>Filter>Glare
- Fog Glow
- Render Layers>ImageとGlare>Imageを接続
- GlareをCtrl+Shift+左クリック

- Render>View Render
- Viwer Node
- Image>Save As
- 今回は「Mountain_Skybox.hdr」という名前で保存します
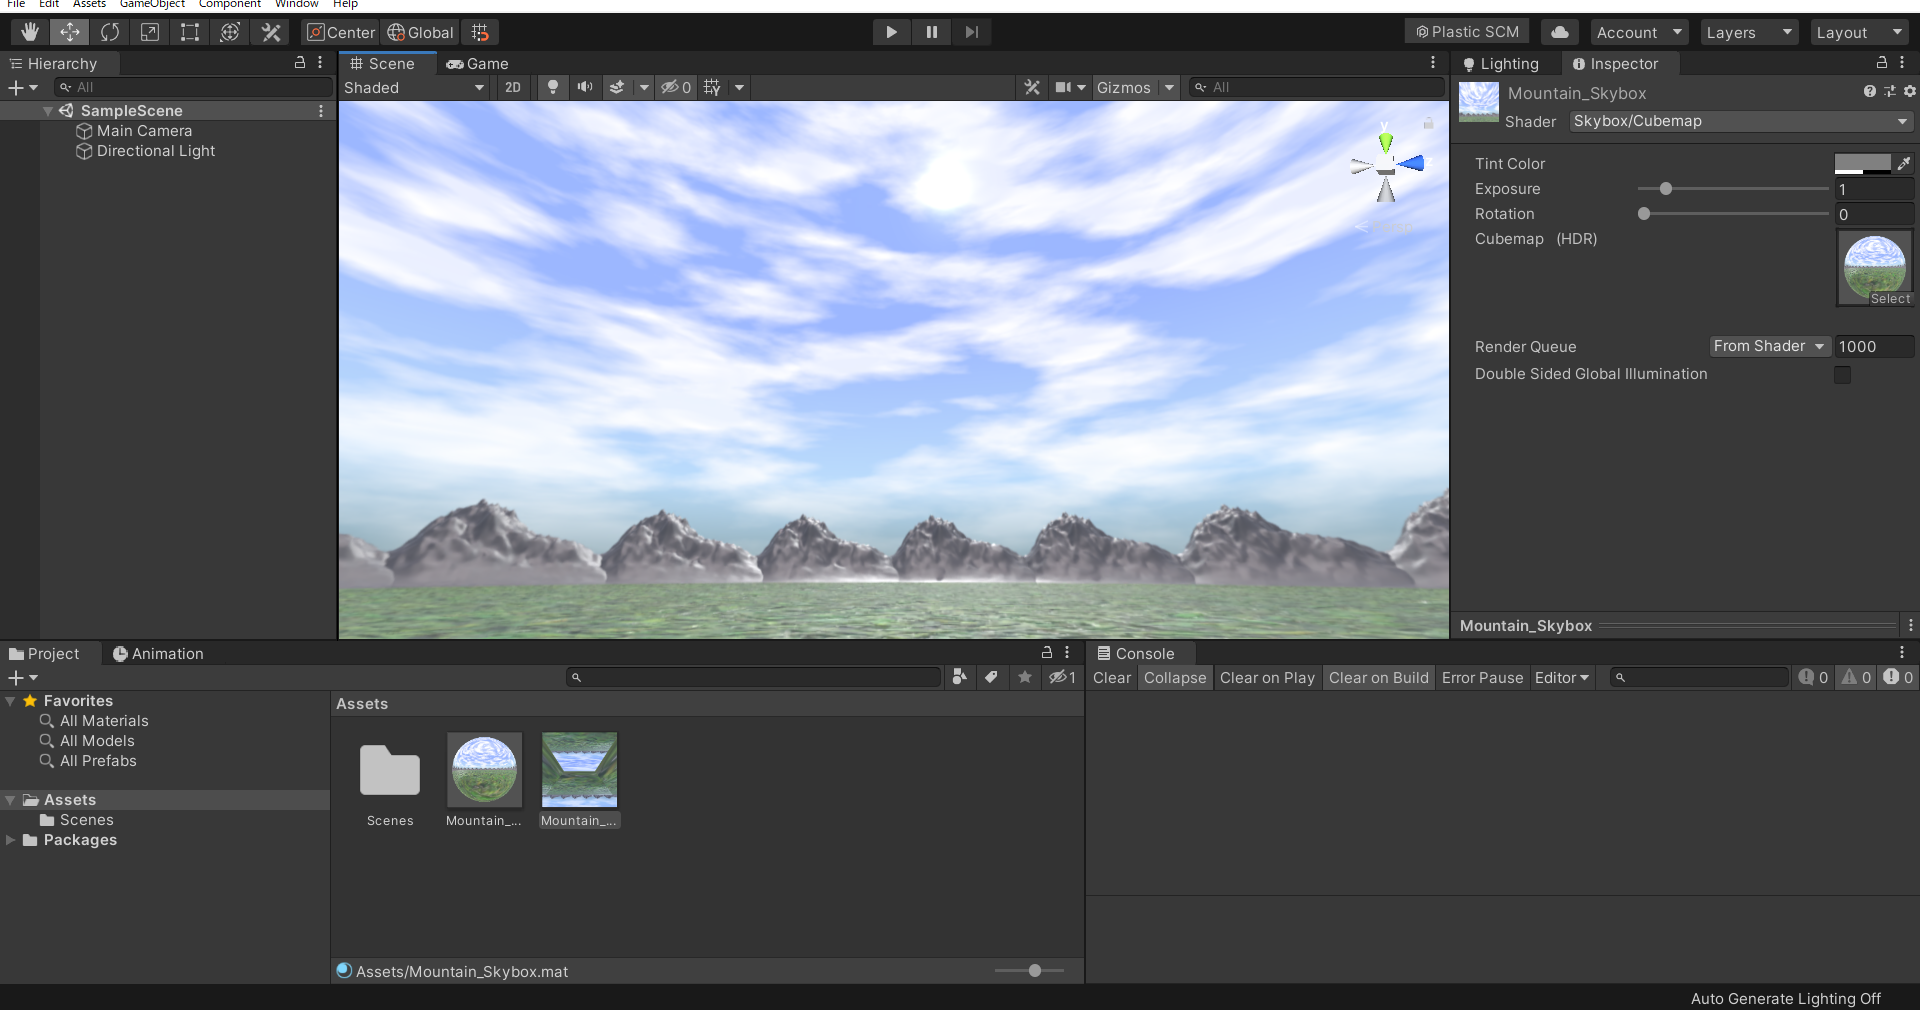
Unity
- Mountain_Skybox.hdr
- Texture Shape : Cube
- Apply
- Create>Material
- Shader : Skybox/Cubemap
- Cubemap : Mountain_Skybox.hdr
- シーンにドラッグアンドドロップ
参考サイト
- https://note.com/info_/n/n69997dfe8e08
- https://www.pentacreation.com/blog/2022/01/220101.html
- https://ceriseworks.com/dynamic-sky/
- https://note.com/info_/n/nce33546f57ab
- https://amethyst3d.net/tips/blender/blender-2-9-glow
- https://cgbox.jp/2023/07/20/unity-hdri/
バージョン
- Blender : 3.2.1
- Unity : 2019.4.31f1